Thank you for joining us for part four of our ABC’s of Splunk series. If you haven’t read our first three blogs, get caught up here! Part 1, Part 2, Part 3.
When I started working with Splunk, our installations were mostly small with less than 10 servers and the rest of the devices mainly involved switches, routers, and firewalls. In the current environments which we manage most installations have more than three hundred servers which are impossible to manage without some form of automation. As you manage your environment over time, one of the following scenarios will make you appreciate the deployment server:
- You need to update a TA (technology add-on) on some, if not all, of your Universal Forwarders.
- Your logging needs changed over time and now you need to collect more or less data from your Universal Forwarders.
- You’re in the middle of investigating a breach, and/or an attack, and need to quickly push a monitoring change to your entire environment. – How cool is that!
What is a Deployment Server?
A deployment server is an easy way to manage forwarders without logging into them directly and individually to make any changes. Forwarders are the Linux or Microsoft Windows servers that you are collecting logs from by installing the Splunk Universal Forwarder.
Deployment servers also provide a way to show you which server has which Apps and whether those servers are in a connected state or offline.
Please note that whether you use Splunk Cloud or on-prem, the Universal Forwarders are still your responsibility and I hope that this blog will provide you with some good insights.
Deployment Server Architecture:
The below image shows how a deployment architecture looks conceptually.
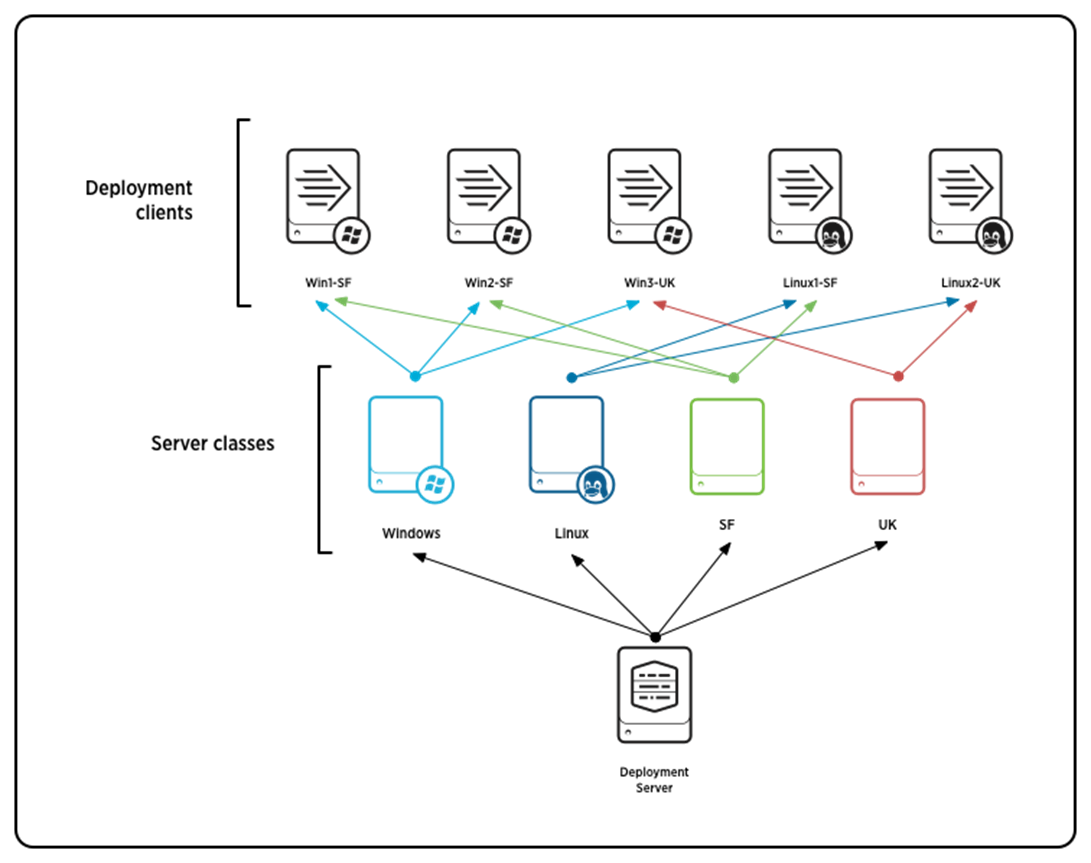
There are three core components of the deployment server architecture:
- Deployment Apps
Splunk Apps that will be deployed to the forwarders. - Deployment Client
The forwarder instances on which Splunk Apps will be deployed. - Server Classes
A logical way to map between Apps and Deployment Clients.
- You can have multiple Apps within a Server Class.
- You can deploy multiple Server Classes on a single Deployment Client.
- You can have the same Server Class deployed on multiple Clients.
How Deployment Server Works:
- Each deployment client periodically polls the deployment server, identifying itself.
- The deployment server determines the set of deployment Apps for the client based on which server classes the client belongs to.
- The deployment server gives the client the list of Apps that belong to it, along with the current checksums of the Apps.
- The client compares the App info from the deployment server with its own App info to determine whether there are any new or updated Apps that it needs to download.
- If there are new or updated Apps, the Deployment Client downloads them.
- Depending on the configuration for a given App, the client might restart itself before the App changes take effect.
Where to Configure the Deployment Server:
The recommendation is to use a dedicated machine for the Deployment Server. However, you can use the same machine for other management components like “License Master”, “SH Cluster Deployer” or “DMC”. Do not combine it with Cluster Master.
Configuration:
I started writing this in a loose format explaining the concepts but quickly realized that a step by step is a much easier method to digest the process
1. Create a Deployment Server
By default, a Splunk server install does not have the deployment server configured and if you were to go to the GUI and click on settings, forwarder management, you will get the following message.

To enable a deployment server, you start by installing any App in $SPLUNK_HOME/etc/deployment-apps directory. If you’re not sure how to do that, download any App that you want through the GUI on the server you want to configure (see the example below)
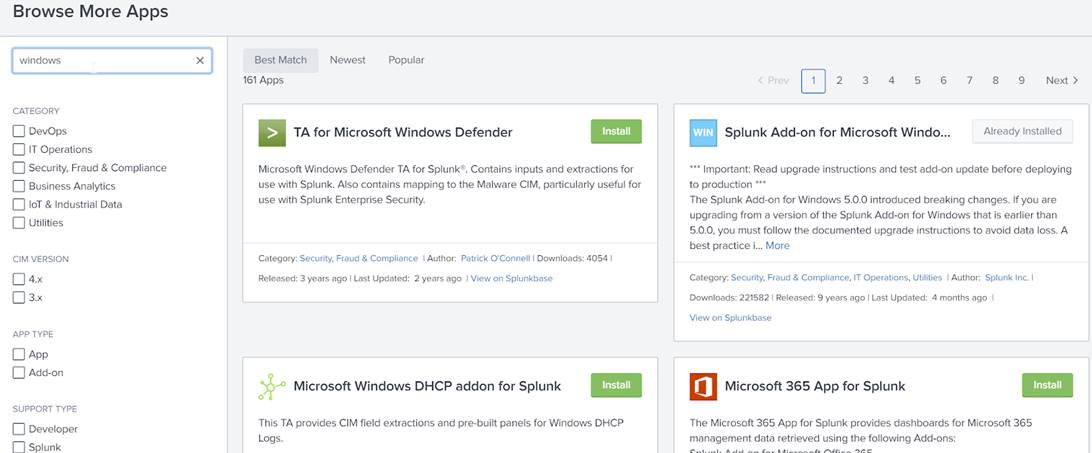
and then using the Linux shell or Windows server Cut/Paste, mv the entire App directory that was created from $SPLUNK_HOME/etc/apps where it installs by default to $SPLUNK_HOME/etc/deployment-apps. See below:
Move
/opt/splunk/etc/apps/Splunk_TA_windows$
To /opt/splunk/etc/deployment-apps/Splunk_TA_windows$
This will automatically allow your Splunk server to present you with the forwarder management interface
2. Manage Server Classes Apps and Clients
Next, you will need to add a server class. Go to Splunk UI > Forwarder Management > Server Class. Create a new server class from here.
![]()
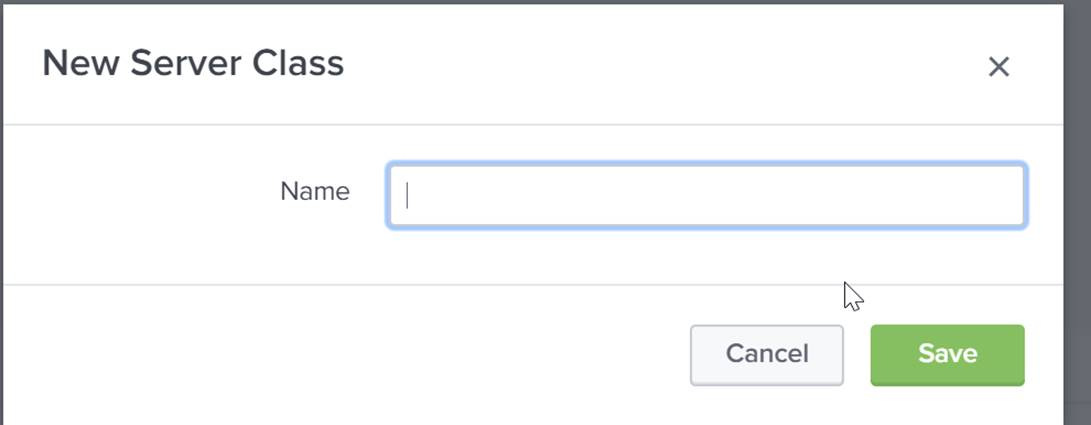
Give it a name that is meaningful to you and your staff and go to Step 3
3. Point the Clients to this Deployment Server
You can either specify that in the GUI guided config when you install Splunk Universal Forwarder on a machine or by using the CLI post installation
Splunk set deploy-poll <IP_address/hostname>:
Where,
IP_Address – IP Address of Deployment Server
management_port – Management port of deployment server (default is 8089)
4. Whitelist the Clients on the Deployment Server
Go to any of the server classes you just created, click on edit clients.
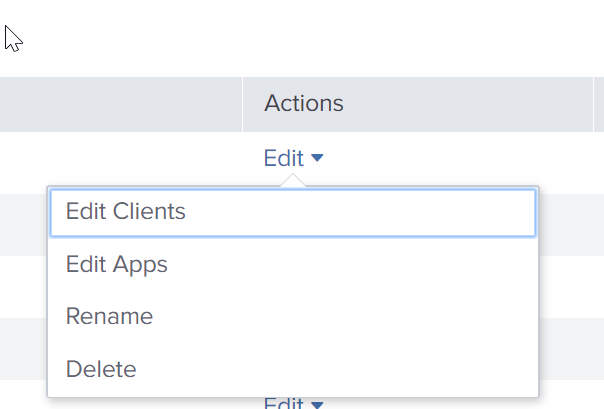
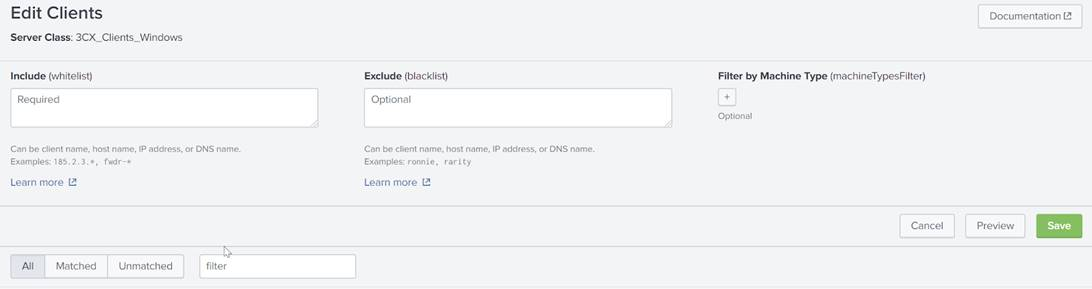
For Client selection, you can choose the “Whitelist” and “Blacklist” parameters. You can write a comma-separated IP address list in the “Whitelist” box to select those Clients
5. Assign Apps to Server Classes:
Go to any of the server classes you just created, and click on edit Apps.

Click on the Apps you want to assign to the server class.

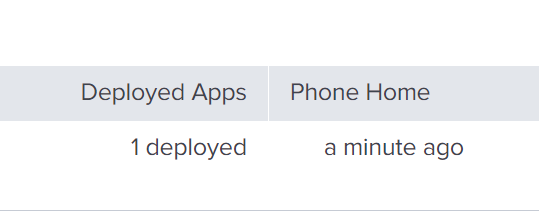
Once you add Apps and Clients to a Server Class, Splunk will start deploying the Apps to the listed Clients under that Server Class.
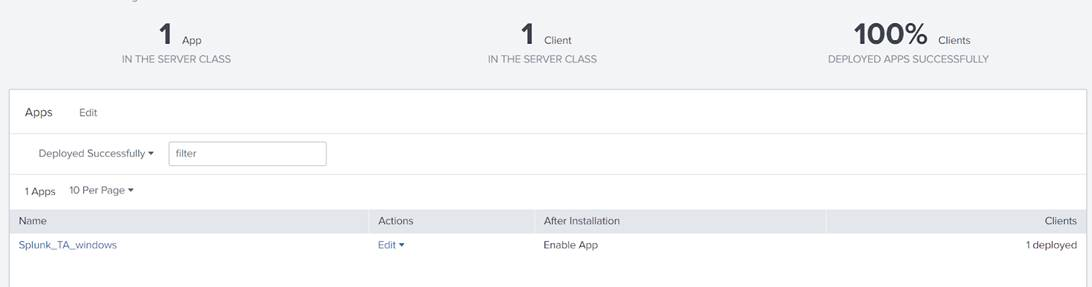
You will also see whether the server is connected and the last time it phoned home.
Note – Some Apps that you push require the Universal Forwarder to be restarted. If you want Splunk Forwarder to restart on update of any App, edit that App (using the GUI) and then select the checkbox “Restart on Deploy”.

Example:
You have a few AD servers, a few DNS servers and a few Linux servers with Universal Forwarders installed to get some fixed sets of data, and you have 4 separate Apps to collect Windows Performance data, DNS specific logs, Linux audit logs, and syslogs.
Now you want to collect Windows Performance logs from all the Windows servers which includes AD servers, and DNS servers. You would also like to collect syslog and audit logs from Linux servers.
Here is what your deployment server would look like:
- Server Class – Windows
- Apps – Windows_Performance
- Deployment Client – All AD servers and All DNS servers
- Server Class – DNS
- Apps – DNS_Logs
- Deployment Client – DNS servers
- Server Class – Linux
- Apps – linux_auditd, linux_syslog
- Deployment Client – Linux servers
6. How to Verify Whether Forwarder is Sending Data or Not?
Go to the Search Head and search with the below search (Make sure you have rights to see internal indexes data):
index=_internal | dedup host | fields host | table host
Look in the list to see if your Forwarder’s hostname is in the list, if it is present that means the Forwarder is connected. If you are missing a host using the above command, you might have one of two problems:
- A networking and or firewall issue somewhere in between and or on the host.
- Need to redo step 3 and/or restart the Splunk process on that server.
If you are missing a particular index/source data then check inputs.conf configuration in the App that you pushed to that host.
Other Useful Content:
Protect content during App updates (A must-read to minimize the amount of work you have to do overtime managing your environment)
https://docs.splunk.com/Documentation/Splunk/8.0.5/Updating/Excludecontent
Example on the Documentation
Written by Usama Houlila.
Any questions, comments, or feedback are appreciated! Leave a comment or send me an email to uhoulila@cr.jlizardo.com for any questions you might have.